
Once a milestone is approved, one click creates its invoice. It's an ordinary InvoiceKaro invoice: it takes the next number in your series, has its own pay link, and sits in your Invoices list with all your other invoices.
Create the invoice
- 1On an approved milestone, click Create invoice. At any other stage, use ⋯ More → Create invoice now.
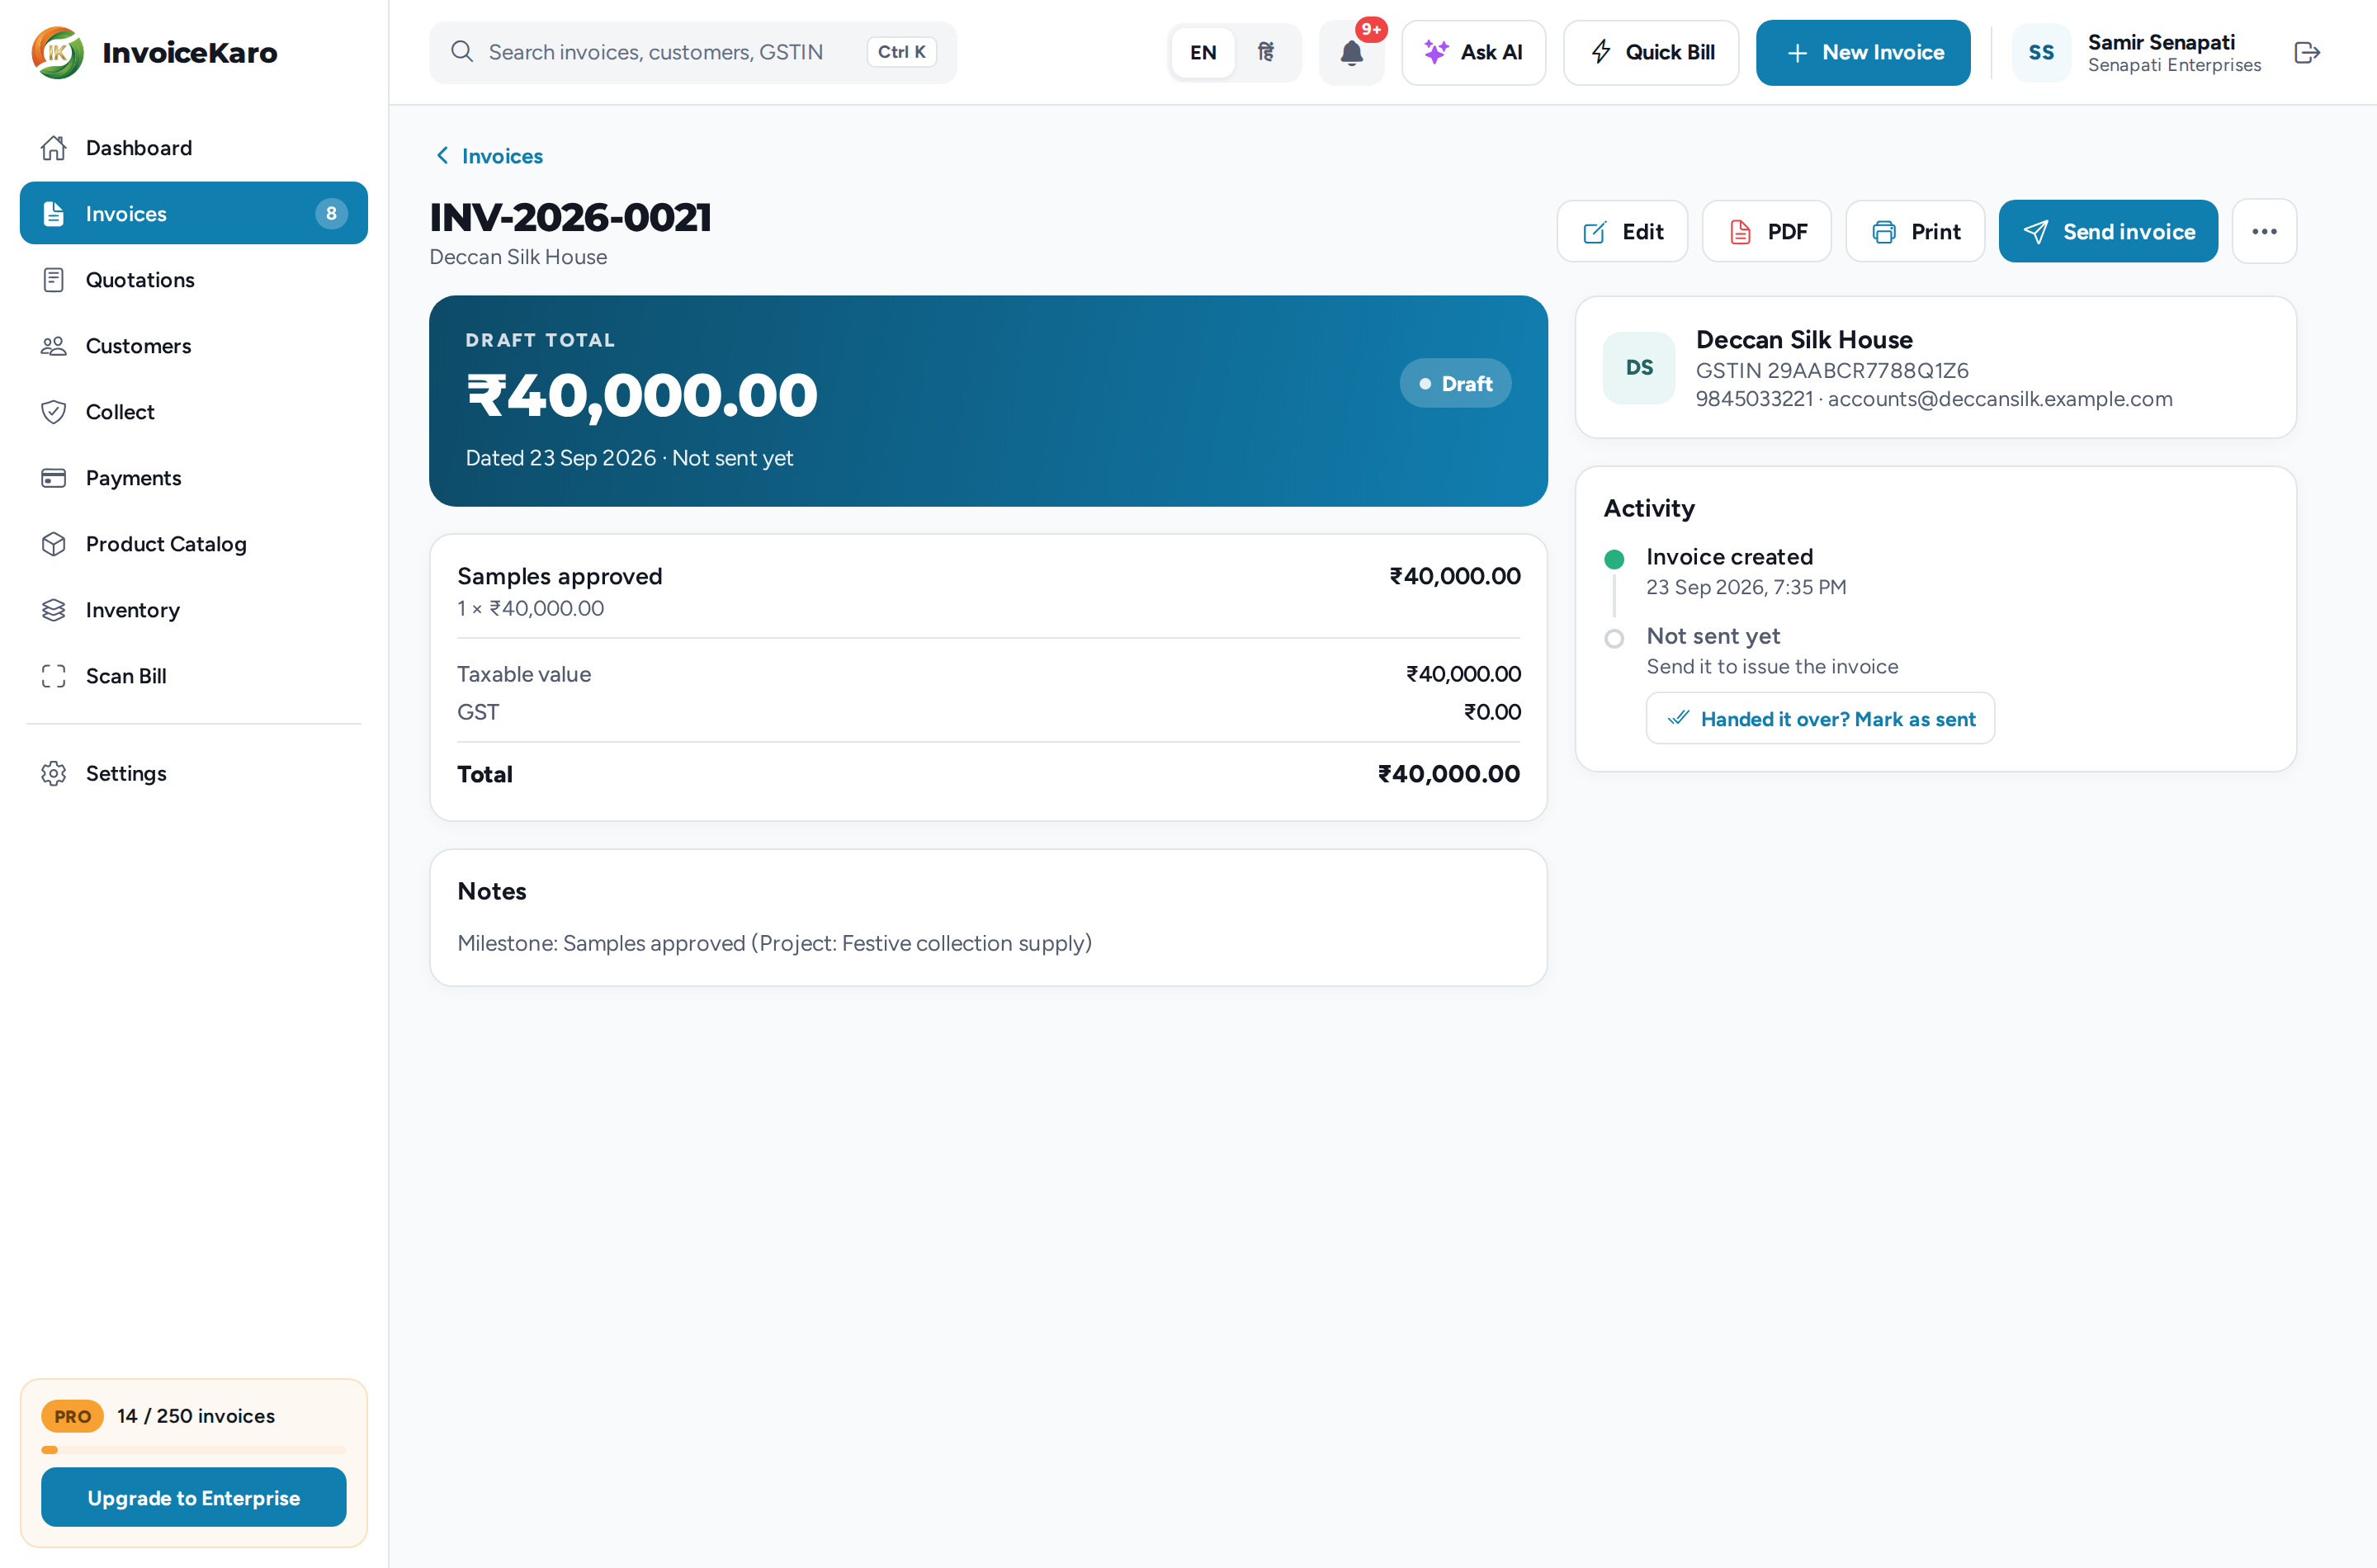
- 2InvoiceKaro creates a draft invoice for the project's client, with one line named after the milestone for the milestone amount, the milestone's due date, and a note naming the milestone and project.
- 3The milestone moves to Invoiced, and its main button becomes the invoice number.
The invoice gets the next number in your financial-year series, for example INV-2026-0012, the same series as all your other invoices. It counts towards your plan's monthly invoice limit, like any invoice you create. See Invoice statuses & numbering.
Check and issue it
- 1Click the invoice number on the milestone card. InvoiceKaro switches to Invoices and opens the invoice.
- 2Check it, and use Edit for anything that needs changing, such as the line's name, GST or notes. A draft can be edited as often as you like.
- 3Issue it with Send invoice after successful invoice or pay-link delivery by email or SMS. The current WhatsApp alert alone does not issue a draft. If you hand over the printout or share the PDF yourself, including in your own WhatsApp chat, choose Mark as sent to issue it without sending another message.
Get paid
An issued invoice has its own pay link, and the invoice's Copy pay link action copies it for you to share. When the money arrives, click Mark as paid on the invoice or record the payment in Payments (see Recording payments). Once the invoice is fully paid, the milestone shows Paid ✓ beside the invoice number.