
Before your first invoice, spend two minutes on your business profile. It puts your name, GSTIN and logo on every invoice, decides how GST is charged, and tells customers how to pay you.
Everything here is in Settings (on a phone, More → Settings). On a computer, Settings has its own menu: Business profile, Business type, Invoice template, Payments & UPI, Appearance & language, Offline billing, Data & backup (owner only), Account and Plan & billing. On a phone, the same sections are cards on one page.
Business details
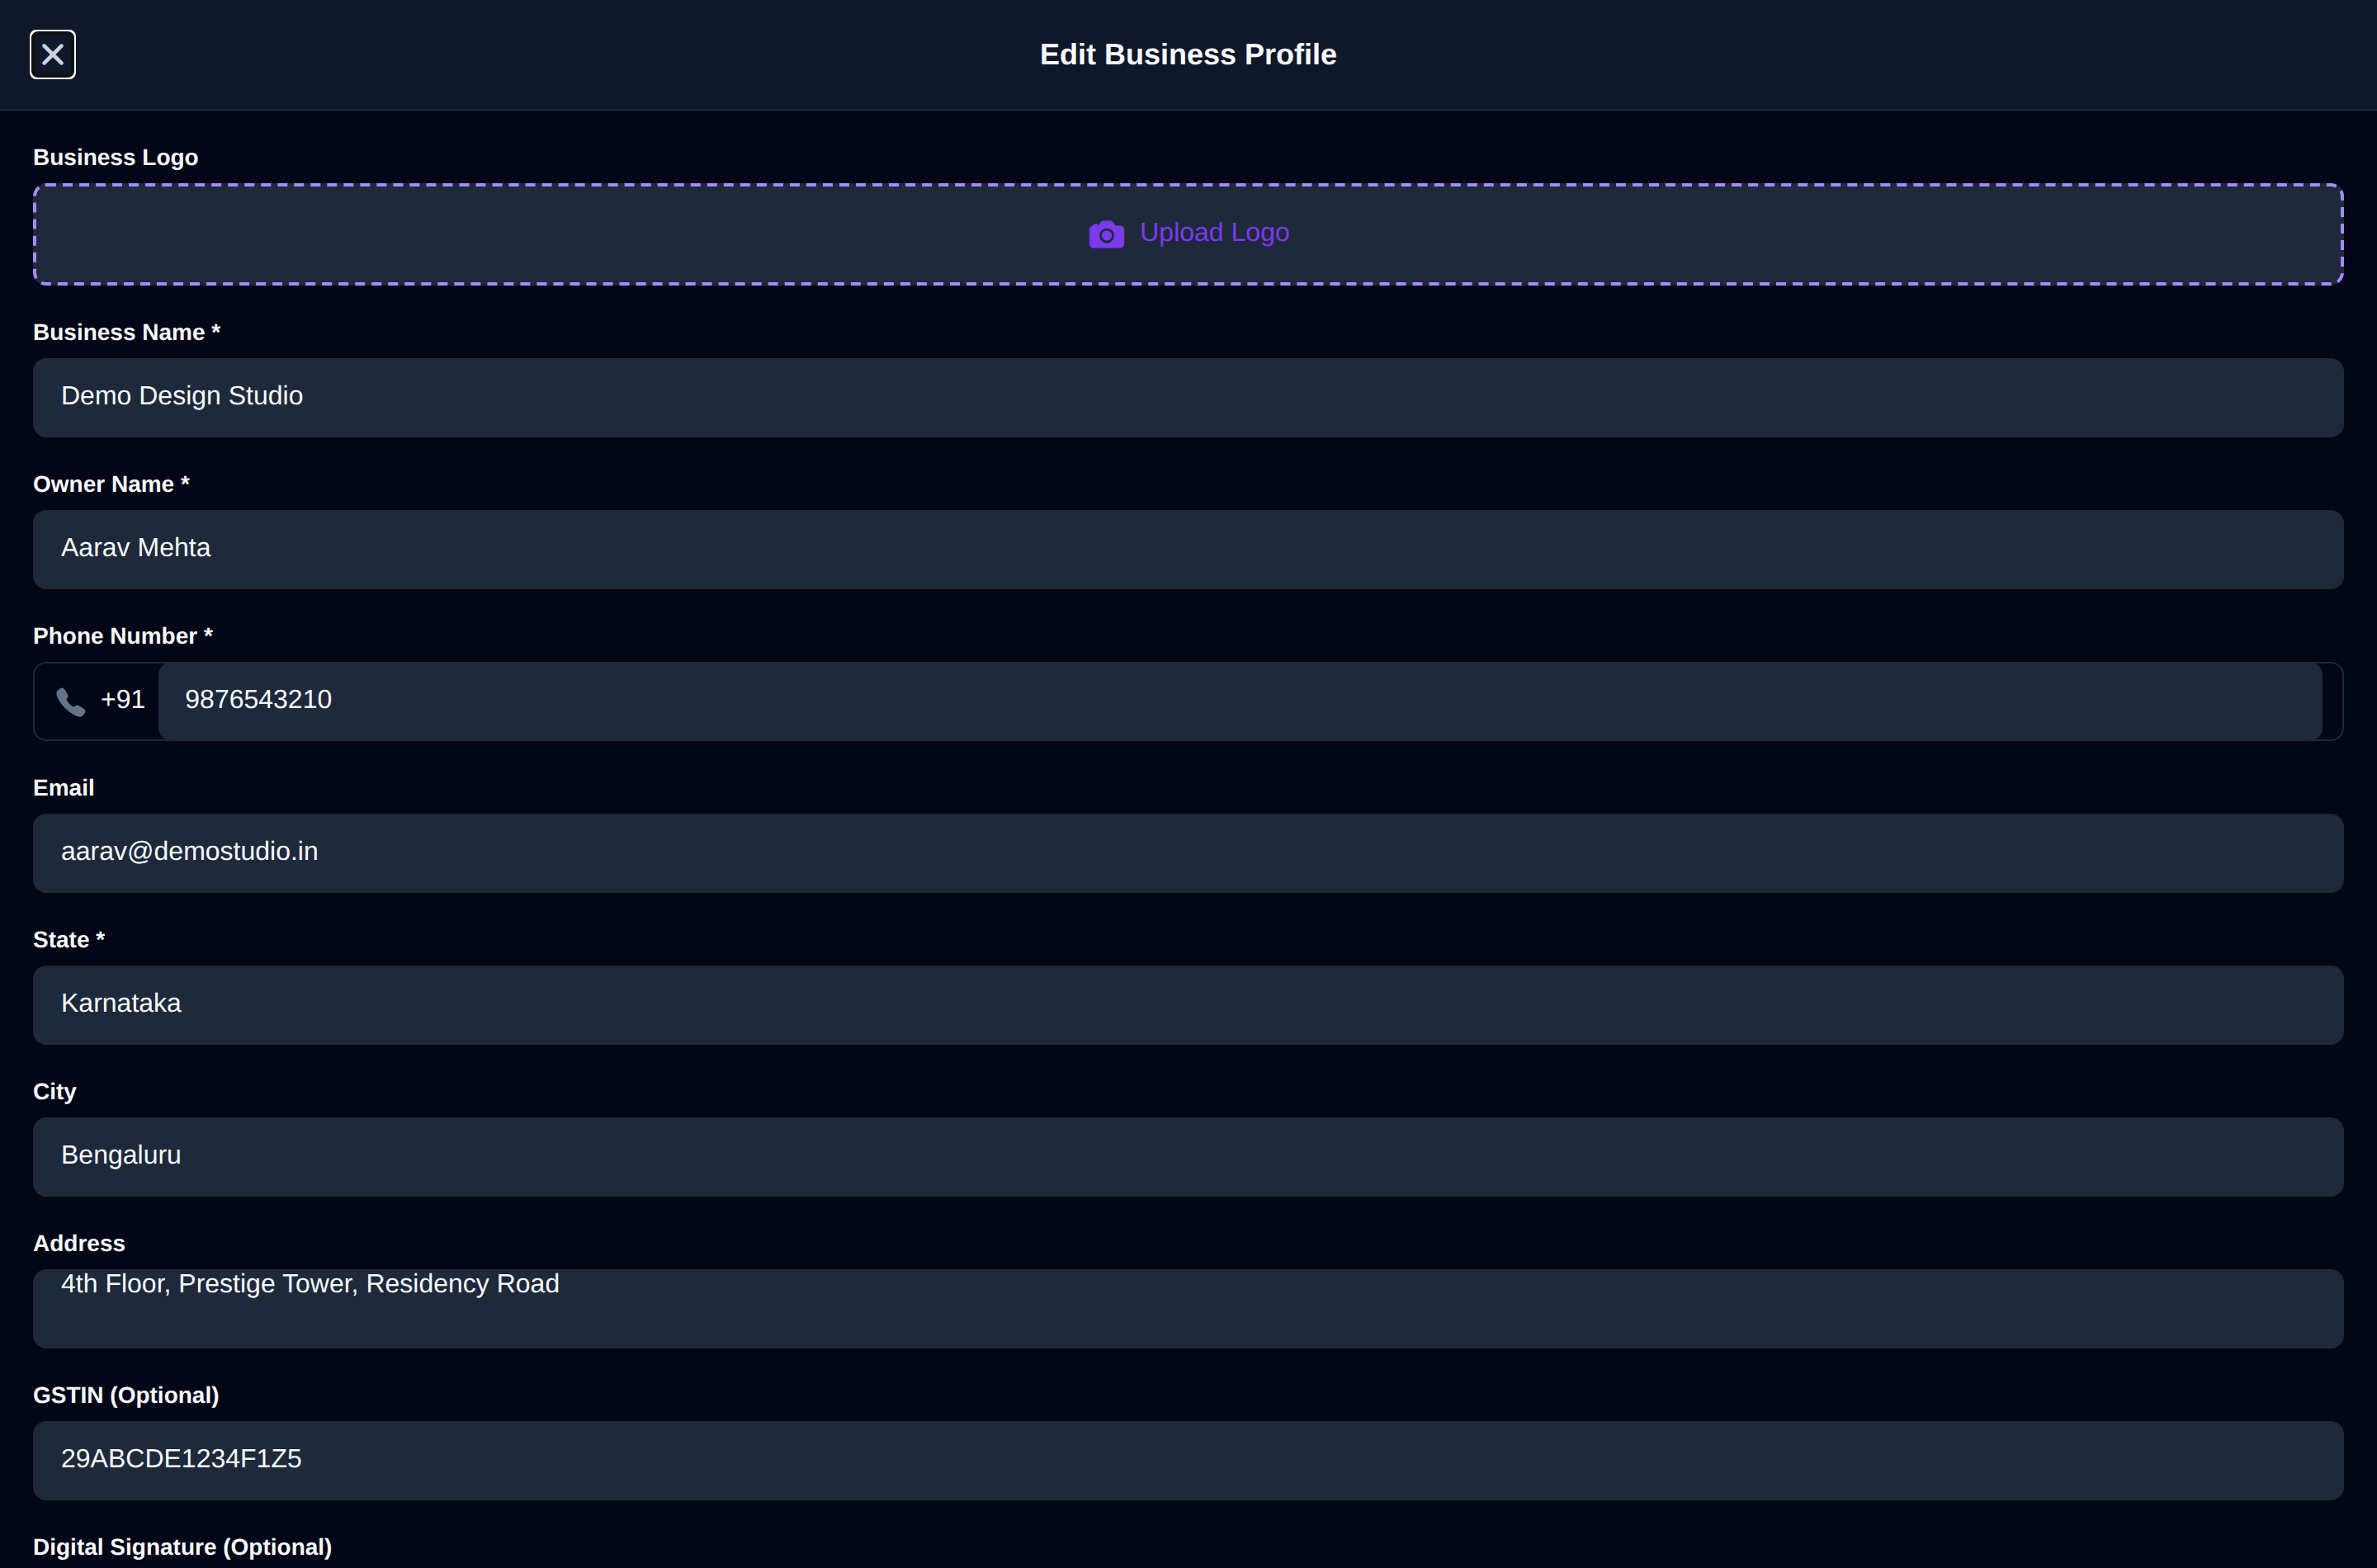
- 1Go to Settings → Business profile and click Edit. On a phone, open More → Settings, find the Business profile card and tap Edit.
- 2Under Business details, fill in your Business name and Owner name (both required), your GSTIN, and your State, which you pick from the list. City and address are optional here, but tax invoices need the address.
- 3Under Logo & signature, upload your Business logo and, if you like, a Signature image to print as the authorised signatory.
- 4Tap Update profile.
- Business name: shown at the top of every invoice and on your pay page.
- State: your place of business. InvoiceKaro compares it with each invoice's place of supply and charges CGST + SGST when they're the same state or IGST when they're different. If your GSTIN belongs to another state, the form warns you.
- GSTIN: marked optional, but you need it to issue any invoice that charges GST.
- Address: printed on your tax invoices.
- Logo: brands your invoices and PDFs.
Add a way to get paid
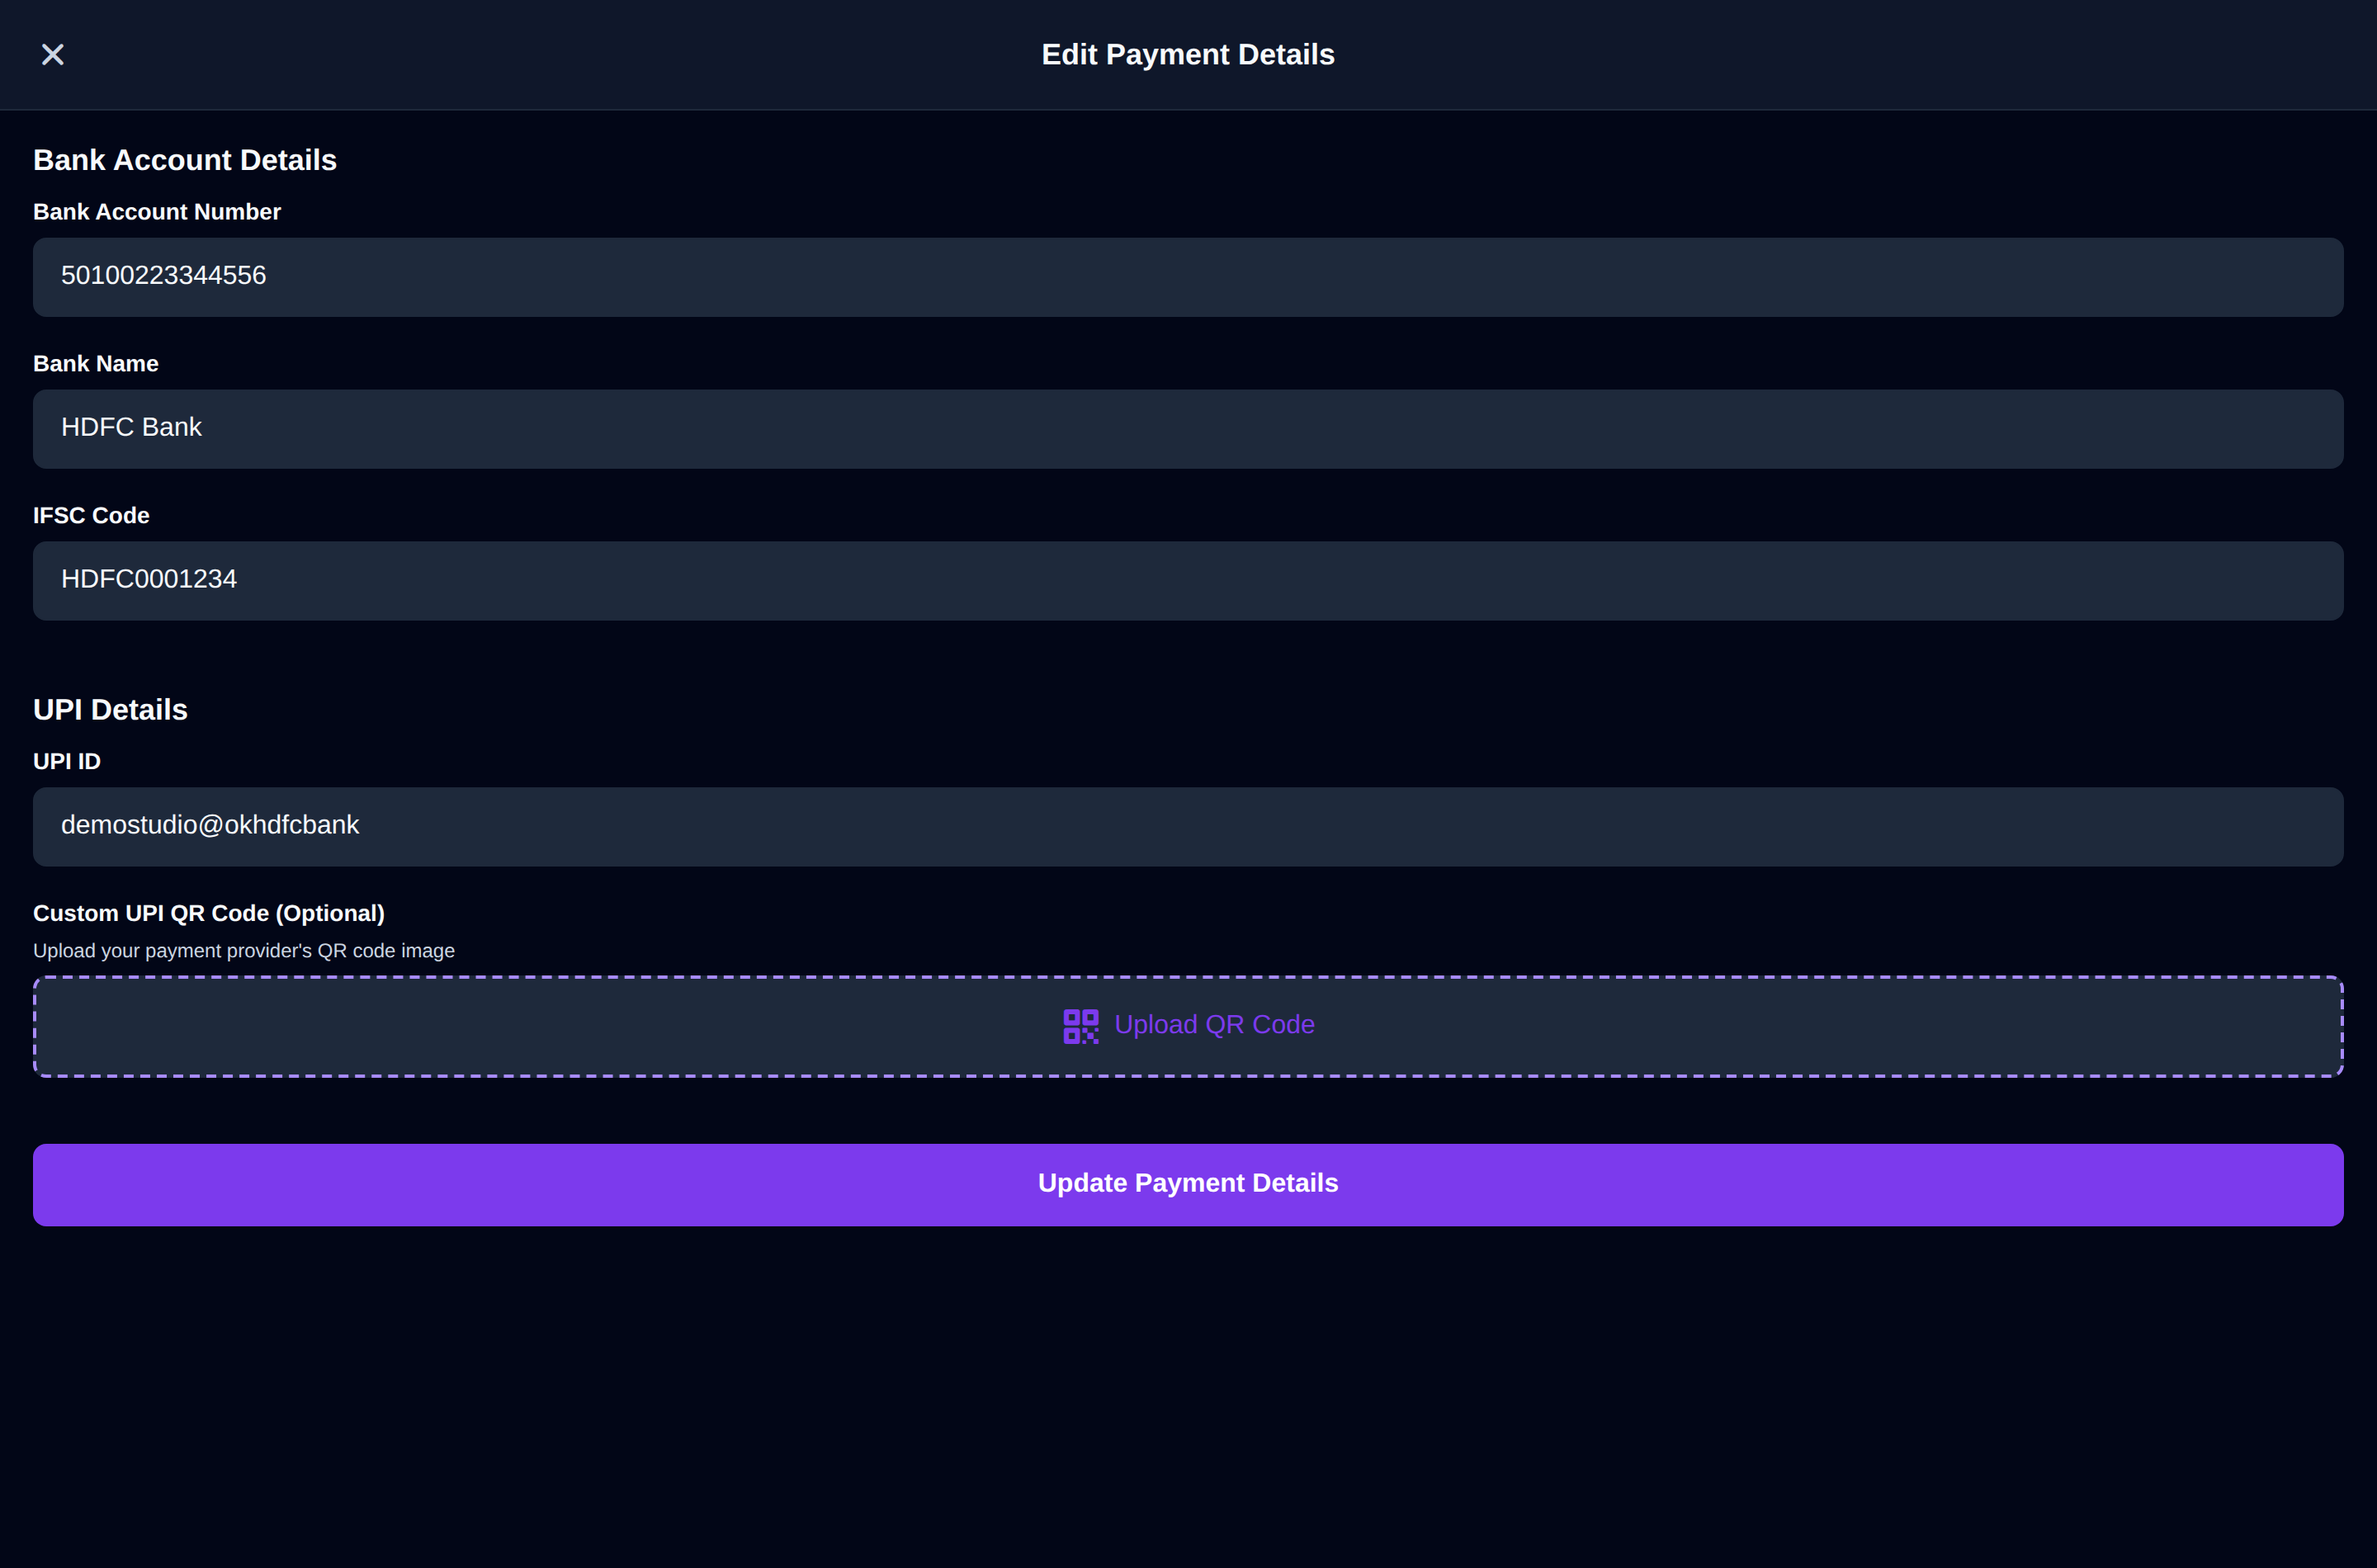
This is the important part. Go to Settings → Payments & UPI and click Edit (on a phone: More → Settings, the Payments & UPI card, then Edit). Add at least one of these:
- UPI ID (for example
yourname@okhdfcbank): recommended. Your pay page then shows a UPI QR with the amount filled in and a button that opens the customer's UPI app, and Quick Bill uses it to show a QR at the counter. - Bank account: the Bank account number, IFSC code and Bank name, for customers who prefer NEFT, IMPS or RTGS.
- Custom UPI QR code (optional): your payment provider's QR image. It replaces the QR made from your UPI ID on invoices. Because a saved QR can't carry the amount, the customer types it in.
Tap Save payment details when you're done.
Money paid by UPI or bank transfer goes directly into your own account, and InvoiceKaro never holds your funds. Learn more in How customers pay you.
Optional: pick an invoice template
Under Settings → Invoice template, choose the default look of your invoice PDFs: Classic, Modern or Minimal. Each invoice can still use a different template.
Optional: language and theme
Settings → Appearance & language sets the Theme (System, Light or Dark) and the Language (EN or हिंदी) for the device you're using. You can also switch languages any time with EN / हिं at the top of the screen. See Appearance & Templates.