
Before customers can pay you, InvoiceKaro needs to know where the money should go. Add your bank account and UPI ID once in Payments & UPI, and your pay pages, invoice PDFs, receipts and Quick Bill all use them.
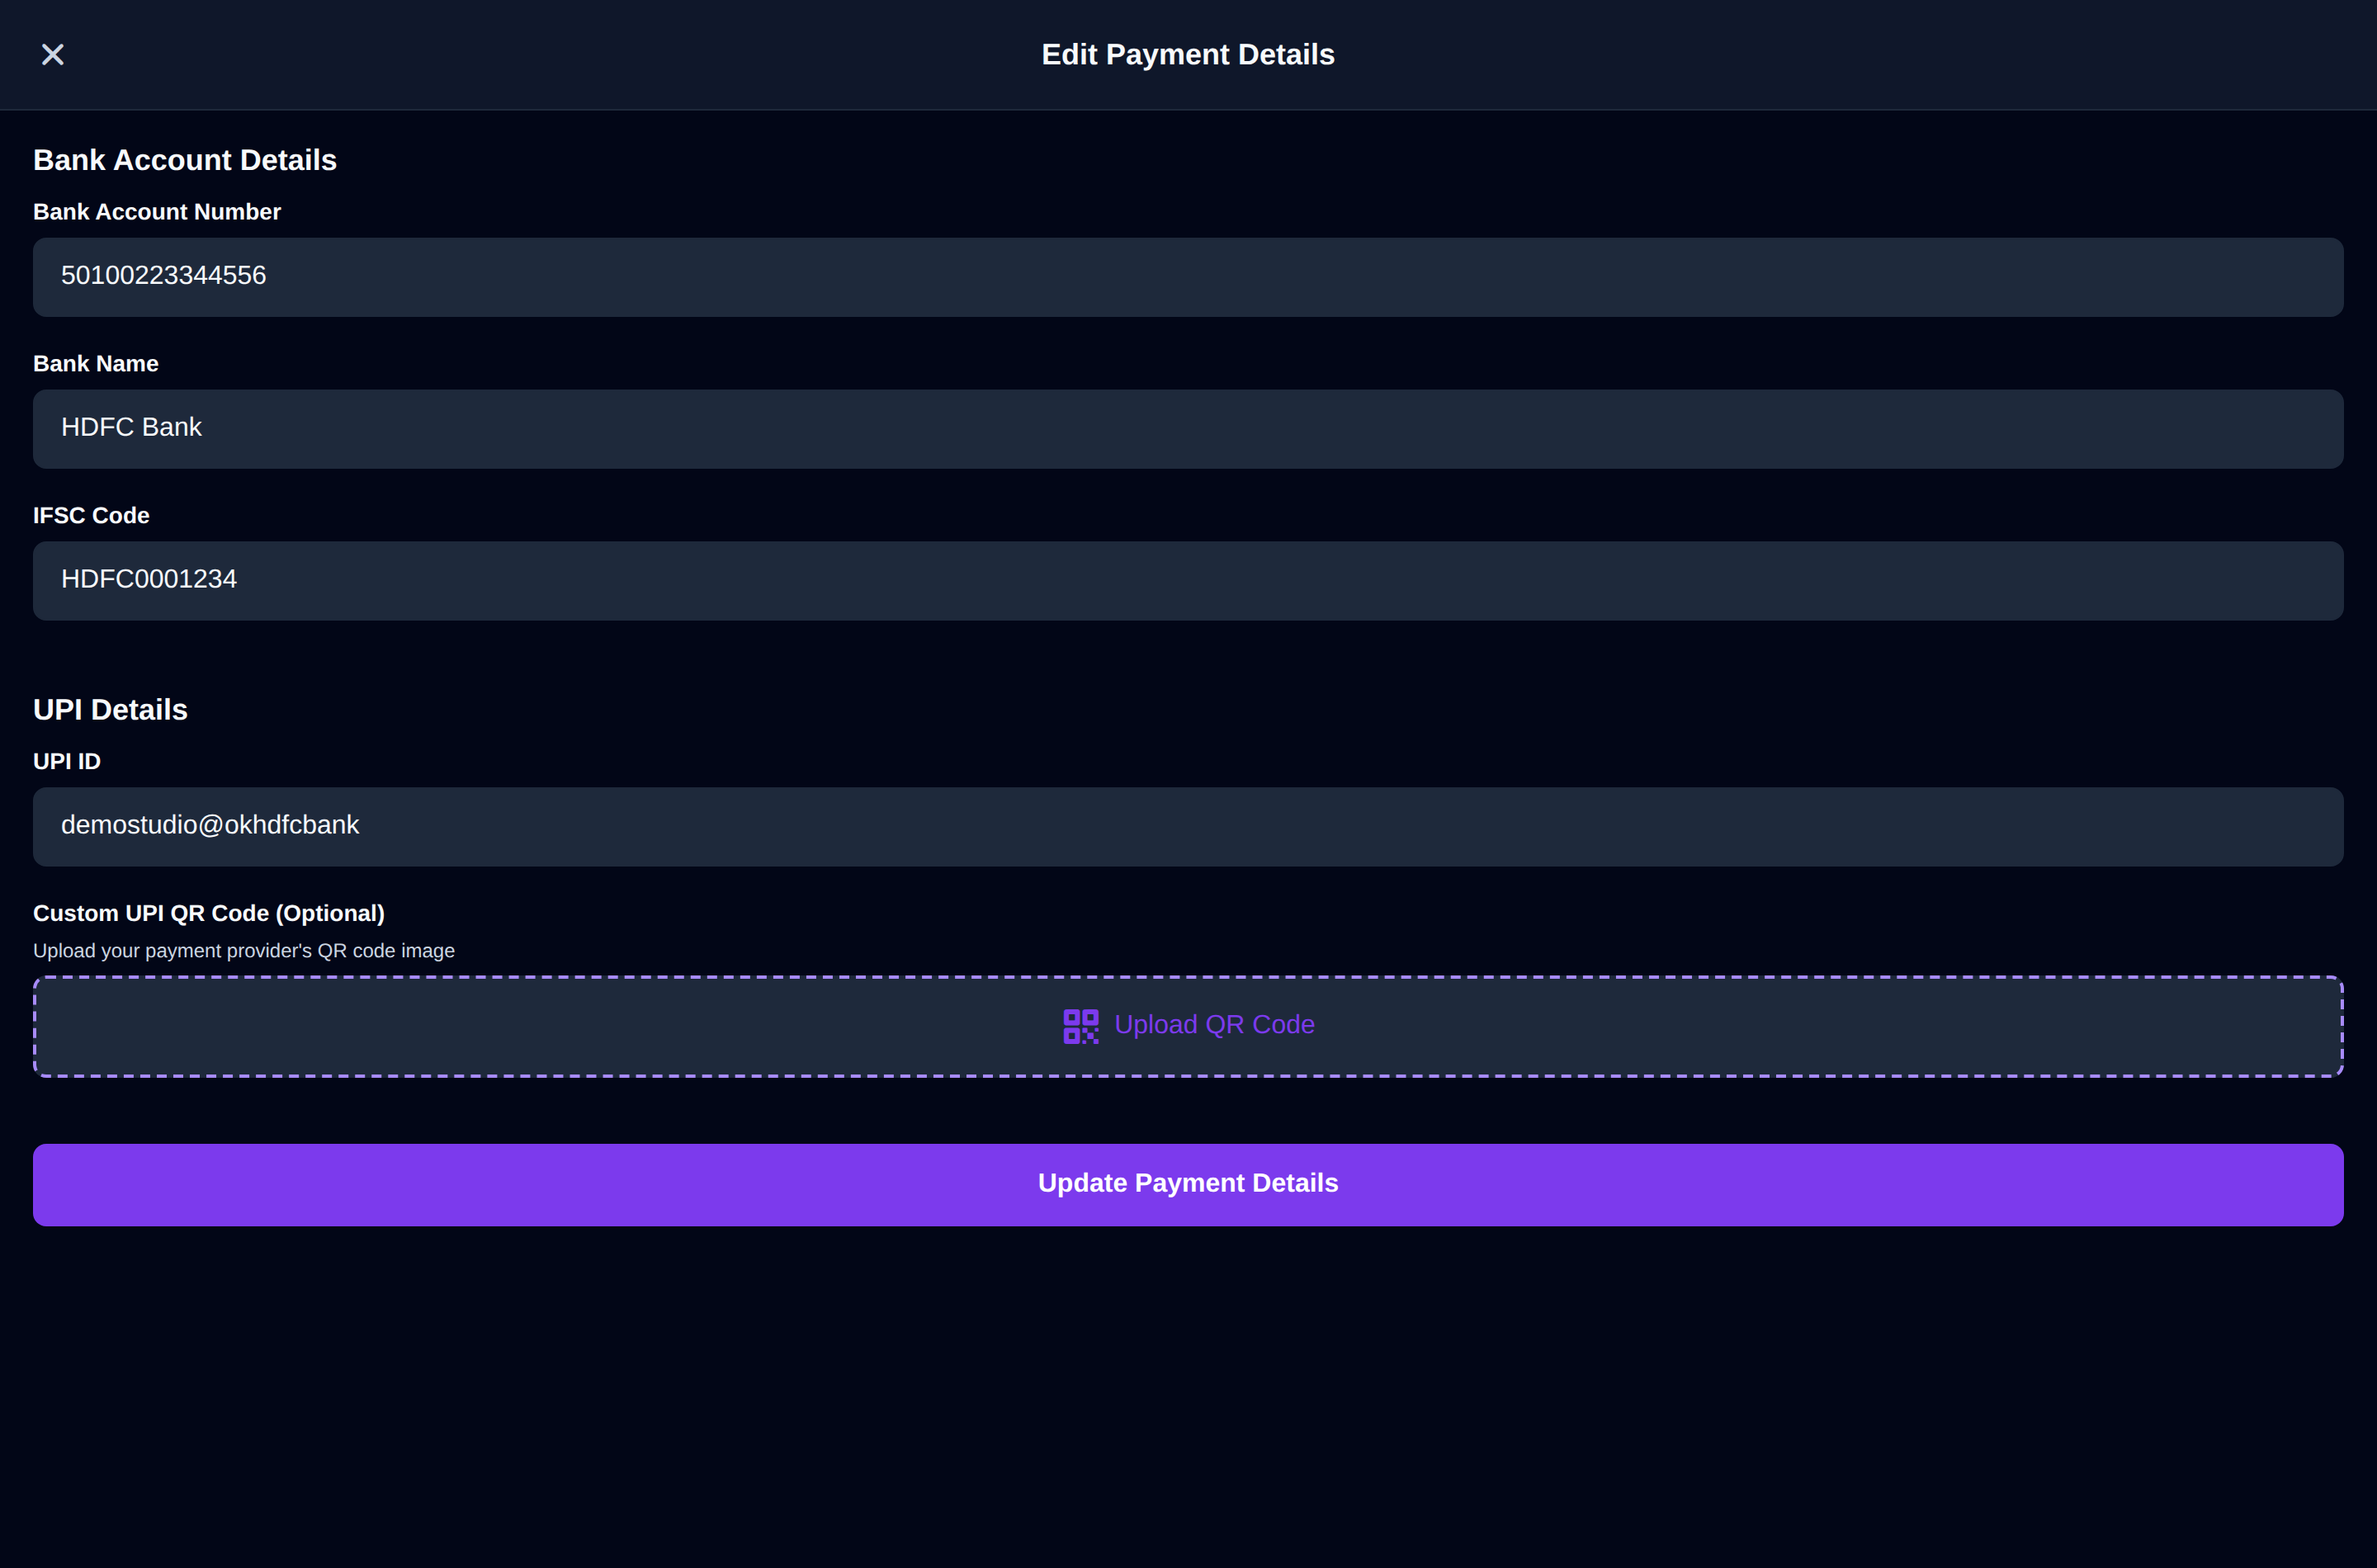
Add your payment details
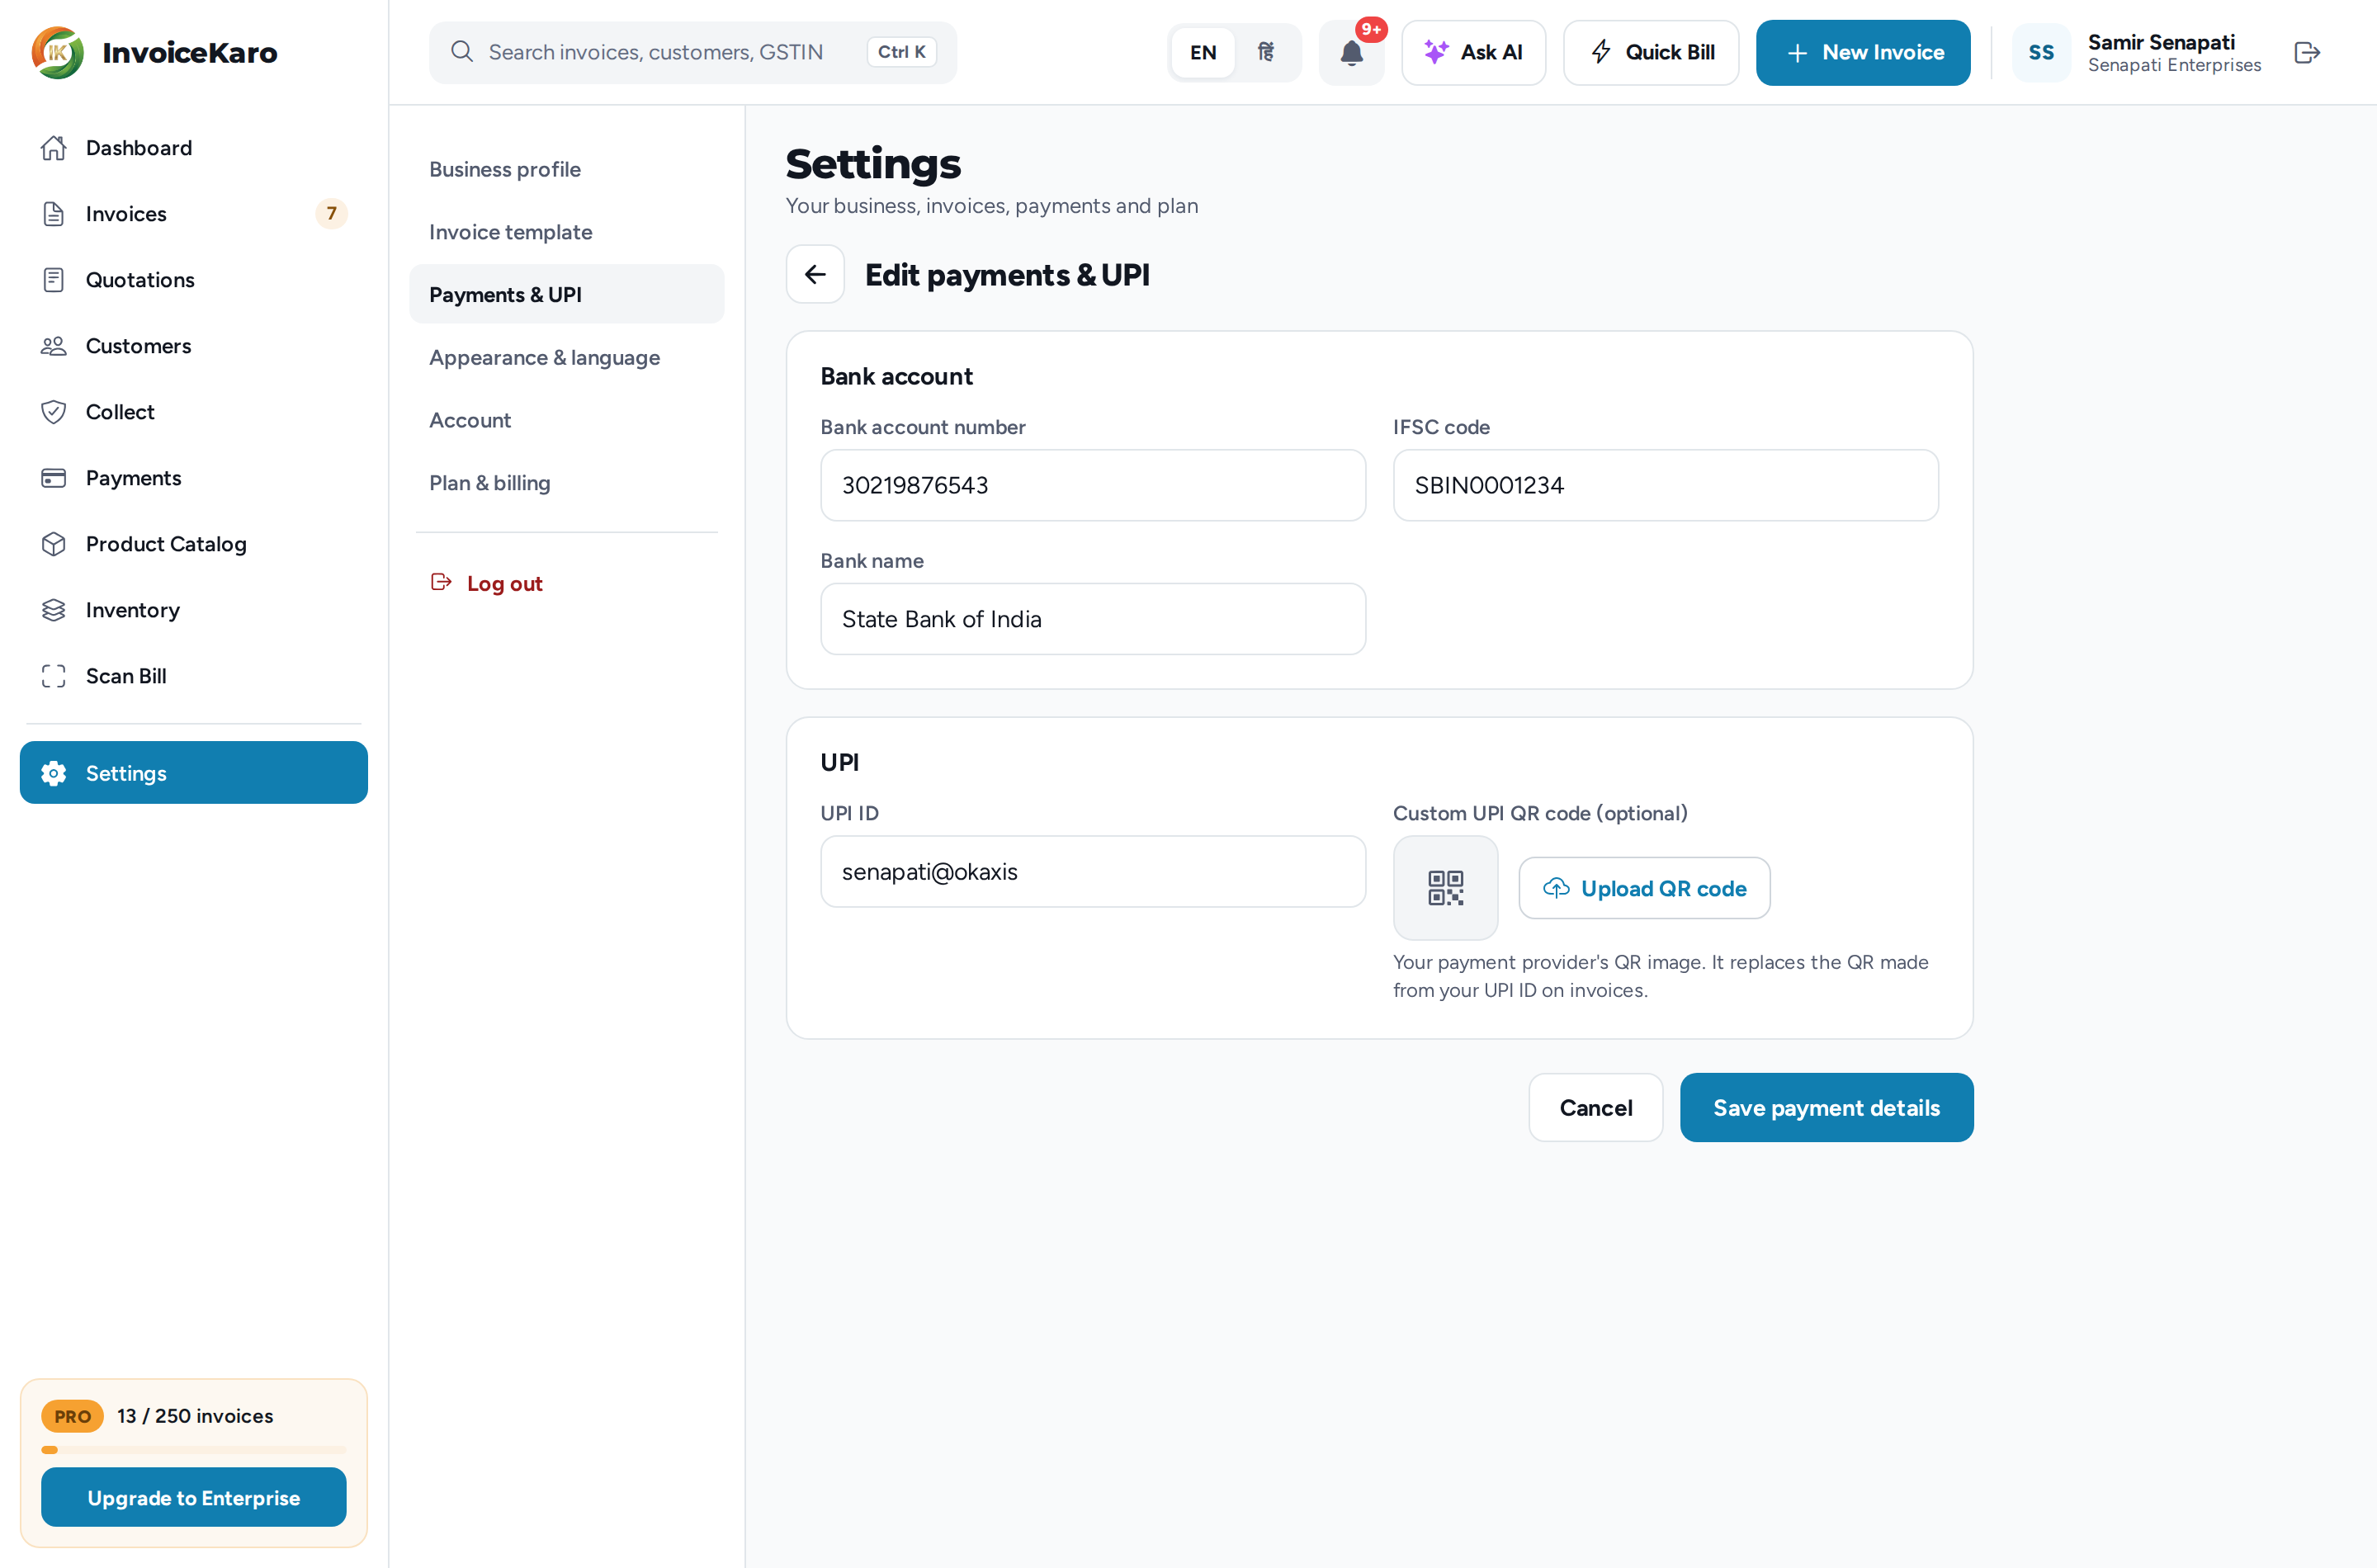
- 1On a computer, click Settings in the left menu, then Payments & UPI. On a phone, open More → Settings and scroll to the Payments & UPI card.
- 2Click Edit. If nothing is saved yet, you can also click Add bank account or Add UPI ID.
- 3Under Bank account, enter the Bank account number, IFSC code and Bank name, for customers who pay by NEFT, IMPS or RTGS.
- 4Under UPI, enter your UPI ID (for example
yourname@okhdfcbank). - 5Optionally, click Upload QR code under Custom UPI QR code (optional) and choose your payment provider's QR image (PNG, JPEG or WebP, up to 2 MB).
- 6Click Save payment details.
UPI ID or custom QR?
| Where | With a UPI ID | With a custom UPI QR code |
|---|---|---|
| Pay page | A QR and a Pay ₹… via UPI app button for the exact balance due, plus your UPI ID to copy. | Shown only if there's no UPI ID. The customer types the amount. |
| Invoice PDF and printed receipts | A scan-to-pay QR made from your UPI ID, with no amount filled in. | Your QR replaces the one made from your UPI ID. |
| Quick Bill | Show UPI QR with the bill total filled in. | Shown only if there's no UPI ID. The customer types the amount. |
Payment details on the invoice PDF
In the invoice form, open Invoice settings. Under Payment Details on Invoice, Bank Account Details prints a payment-details block with your bank, account number, IFSC and UPI ID, and UPI Payment ID prints the scan-to-pay QR. Both are on by default, and each only prints what you've saved here. See Creating a GST invoice.
Where else your details show up
- Payments page: your UPI ID sits at the top under Your UPI collection ID, with Copy. Accepted methods shows UPI, Bank transfer and Cash as Active or Off, and Manage brings you back here. See The Payments page.
- Pay page: the UPI and bank-transfer boxes. See How your customers pay.
Haven't added them yet?
Copying a pay link still works, but InvoiceKaro warns Add a UPI ID or bank details in Profile, because the pay page has no way to show your customer how to pay. On the Payments page, the UPI box reads Get paid instantly by UPI with a Set up UPI button. In Quick Bill, Show UPI QR asks you to Add UPI ID first.